DNS Part 2 – Primary Zone, Secondary Zone and Stub Zone
Welcome back to IT4U’s MCSA Full Course series. In this post, we will cover Day 11: DNS Part 2 – Forward Lookup Zones. This topic builds on the foundational concepts we discussed earlier in DNS Part 1. We will dive into the configuration of DNS server zones, focusing on the Forward Lookup Zones, including Primary, Secondary, and Stub Zones. To further enhance your learning, I have included a video tutorial that walks you through the step-by-step process.
What is a DNS Server?
A DNS (Domain Name System) server is a crucial component in any network. It translates human-readable domain names (e.g., www.it4u.in) into machine-readable IP addresses (e.g., 172.16.20.5). This process ensures seamless communication between devices on a network.
Types of DNS Zones
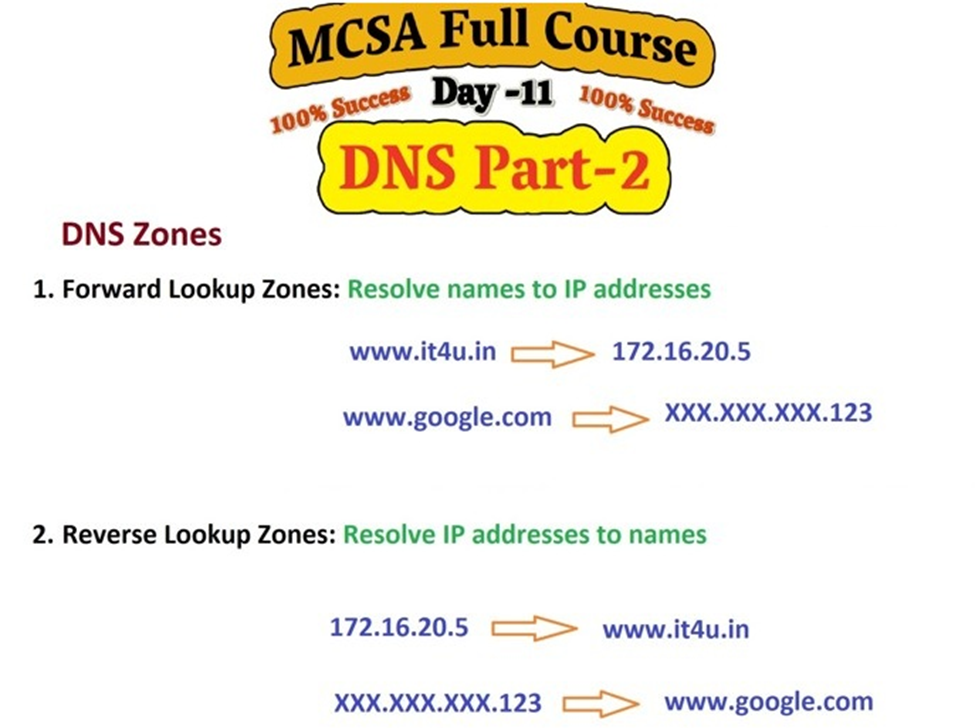
DNS zones are divided into two main categories:
- Forward Lookup Zones: These translate domain names into IP addresses.
- Reverse Lookup Zones: These perform the opposite function by translating IP addresses into domain names.
In this post, we will focus on Forward Lookup Zones and their types.
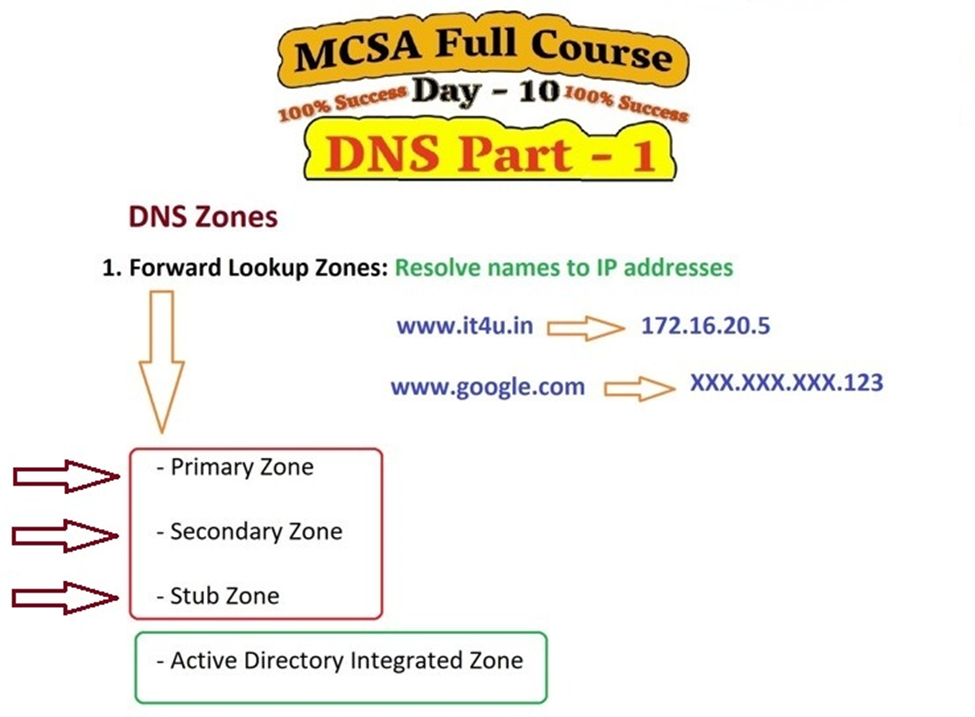
Forward Lookup Zones
Forward Lookup Zones are critical for mapping domain names to IP addresses. Here are the main types of Forward Lookup Zones:
- Primary Zone
- Secondary Zone
- Stub Zone
- Active Directory Integrated Zone
1. Primary Zone
The Primary Zone is the main DNS zone where all records are created and managed. It is the authoritative source for the DNS records in that zone.

Example: Let’s consider a company, it4u.in. In the Primary Zone, you’ll create DNS records such as www.it4u.in pointing to an IP address like 172.16.20.5.
Step-by-Step Configuration:
- Open the DNS Manager on your server.
- Right-click on Forward Lookup Zones and select New Zone.
- Choose Primary Zone and click Next.
- Specify the zone name, e.g., it4u.in.
- Configure the zone file (create a new file or use an existing one).
- Complete the wizard and verify the zone creation.
2. Secondary Zone
The Secondary Zone is a read-only copy of the Primary Zone. It is used for load balancing and fault tolerance.
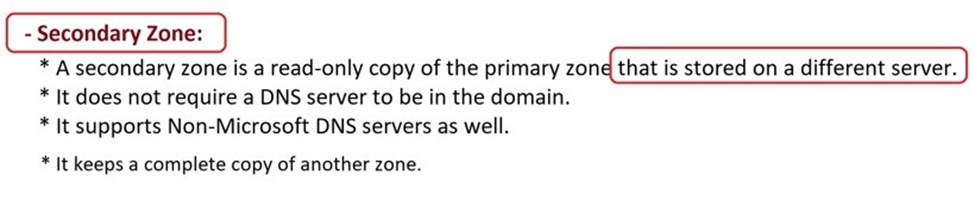
Example: If example.com has a Primary Zone on Server1, a Secondary Zone can be set up on Server2. This ensures DNS resolution remains available even if Server1 goes down.
Step-by-Step Configuration:
- Open the DNS Manager.
- Right-click on Forward Lookup Zones and select New Zone.
- Choose Secondary Zone and click Next.
- Enter the zone name, e.g., example.com.
- Specify the IP address of the Primary Zone server.
- Complete the wizard and verify that the Secondary Zone replicates the records from the Primary Zone.
3. Stub Zone
The Stub Zone contains only the essential information about another DNS zone, such as the authoritative name servers. It is useful for reducing network traffic and improving resolution efficiency.
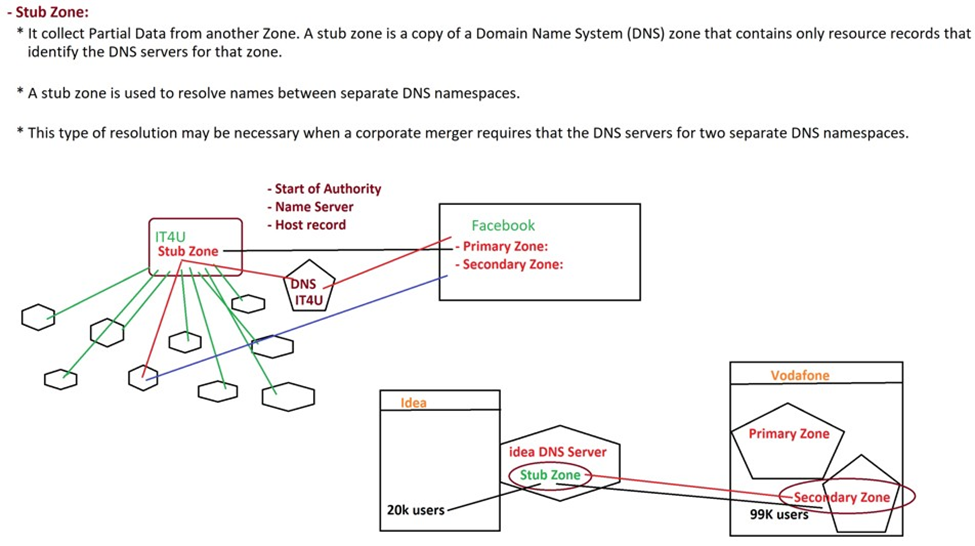
Example: If example.com is hosted on a remote network, you can create a Stub Zone to resolve its queries without storing all its records locally.
Step-by-Step Configuration:
- Open the DNS Manager.
- Right-click on Forward Lookup Zones and select New Zone.
- Choose Stub Zone and click Next.
- Enter the zone name, e.g., example.com.
- Specify the IP address of the authoritative DNS servers for the zone.
- Complete the wizard and verify the Stub Zone functionality.
Video Tutorial
For a detailed, step-by-step guide, watch my YouTube video below. It includes live demonstrations of configuring each Forward Lookup Zone type: Watch the Video Tutorial Here .
What’s Next?
In the next post, we will explore Reverse Lookup Zones, including their purpose and configuration. Stay tuned to IT4U for more valuable content.
Conclusion
Understanding and configuring Forward Lookup Zones is essential for managing DNS servers effectively. Whether you’re setting up a Primary Zone for authoritative DNS records, a Secondary Zone for redundancy, or a Stub Zone for efficient resolution, mastering these configurations will enhance your IT skillset.
If you have any questions or need further clarification, feel free to leave a comment or reach out. Don’t forget to subscribe to my YouTube channel for more IT tutorials and updates.
Thank you for reading, and see you in the next post!