
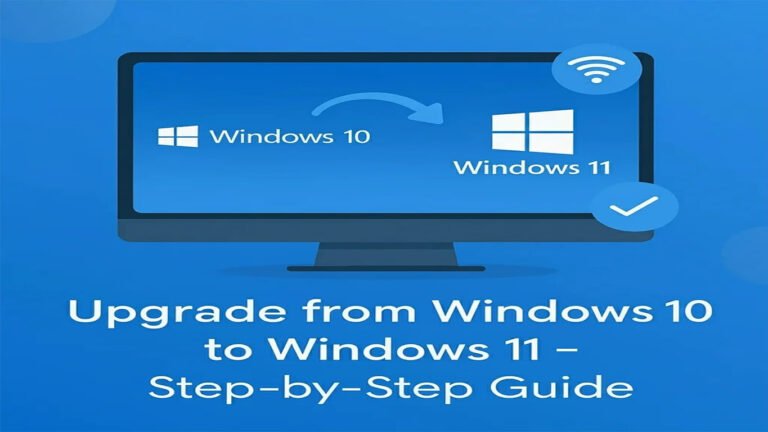
A Complete Step-by-Step Guide
Introduction
Upgrading from Windows 10 to Windows 11 has become a major step for both IT professionals and everyday users who want a faster, more secure, and modern computing experience. Windows 11 introduces a fresh interface, improved productivity features, and enhanced performance optimizations.
In this guide, we’ll walk you through how to upgrade from Windows 10 to Windows 11 online, step by step. Whether you’re an IT admin managing multiple systems or a beginner upgrading your personal laptop, this article covers everything you need to know for a smooth transition.
Why Upgrade to Windows 11?
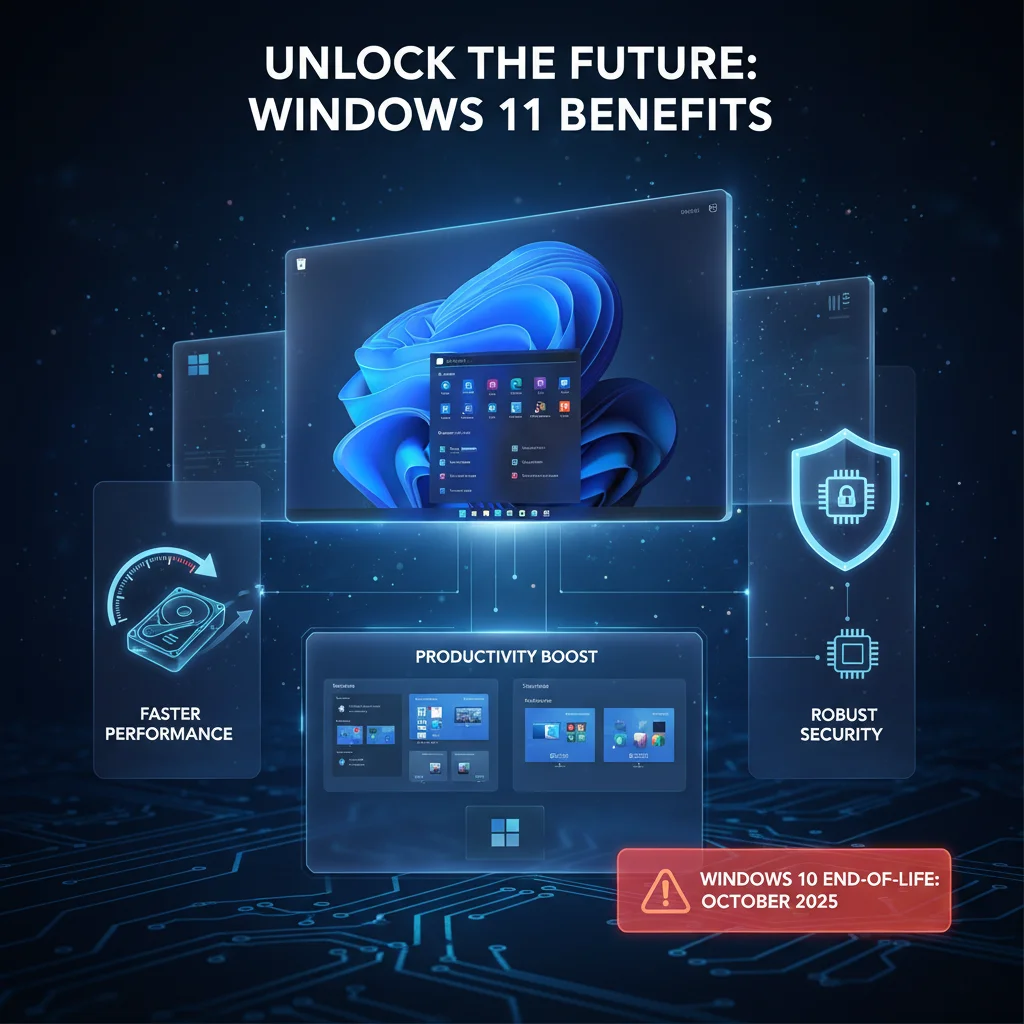
Before jumping into the upgrade process, it’s important to understand why Windows 11 is worth the switch:
- Modern Interface: Sleek, centered Start Menu and taskbar.
- Improved Productivity: Snap layouts, virtual desktops, and Teams integration.
- Better Performance: Faster startup, optimized memory management.
- Enhanced Security: Hardware-based security requirements (TPM 2.0, Secure Boot).
- Future Support: Windows 10 support ends on October 14, 2025.
Step 1: Check System Requirements
Microsoft has introduced stricter requirements for Windows 11. Before upgrading, make sure your device meets these criteria:
- Processor: 1 GHz or faster with 2+ cores, 64-bit.
- RAM: 4 GB minimum.
- Storage: 64 GB or more.
- TPM: Version 2.0 enabled.
- Firmware: Secure Boot capable.
- Graphics: DirectX 12 compatible GPU.
- Display: HD (720p), 9″ or larger.
👉 You can download the PC Health Check Tool from Microsoft to quickly verify compatibility.
Step 2: Backup Your Data

Even though the upgrade process is safe, always backup your files to an external drive, OneDrive, or another cloud service. This ensures you won’t lose important data in case of unexpected issues.
Step 3: Update Windows 10
Before upgrading, ensure your Windows 10 is fully updated:
- Go to Settings > Update & Security > Windows Update.
- Click Check for updates.
- Install all available updates.
This prepares your system and avoids upgrade errors.
Step 4: Start the Upgrade to Windows 11 Online
There are two main methods to upgrade:
Method 1: Windows Update (Recommended)
- Open Settings > Update & Security > Windows Update.
- If your PC is eligible, you’ll see Upgrade to Windows 11 is ready – and it’s free!
- Click Download and install.
- Follow on-screen instructions and restart when prompted.
Method 2: Installation Assistant (If Update Isn’t Available)
If you don’t see the update:
- Visit the Microsoft Windows 11 Download Page.
- Download the Windows 11 Installation Assistant.
- Run the tool and follow the upgrade instructions.
Step 5: Configure Post-Upgrade Settings
Once the upgrade is complete, Windows 11 provides a guided experience to help you get the most out of your PC.
Here’s an example of what you’ll see after upgrading:
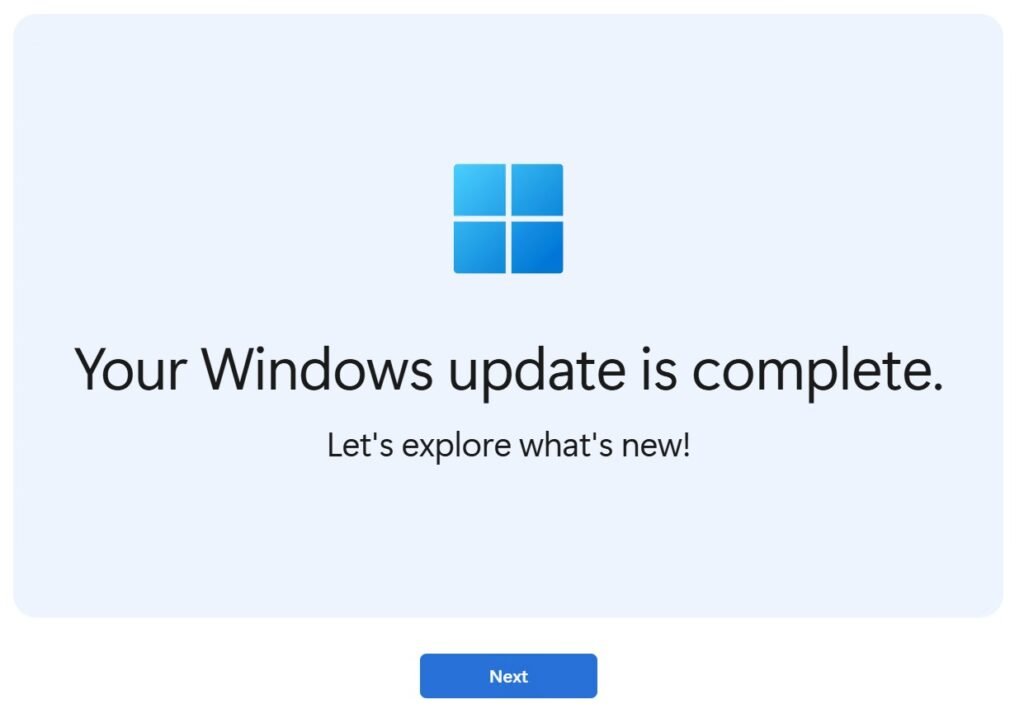

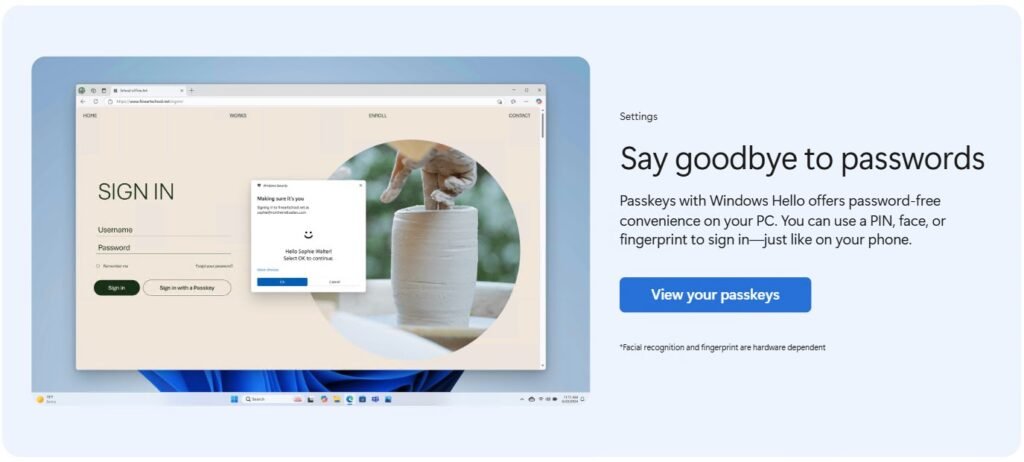

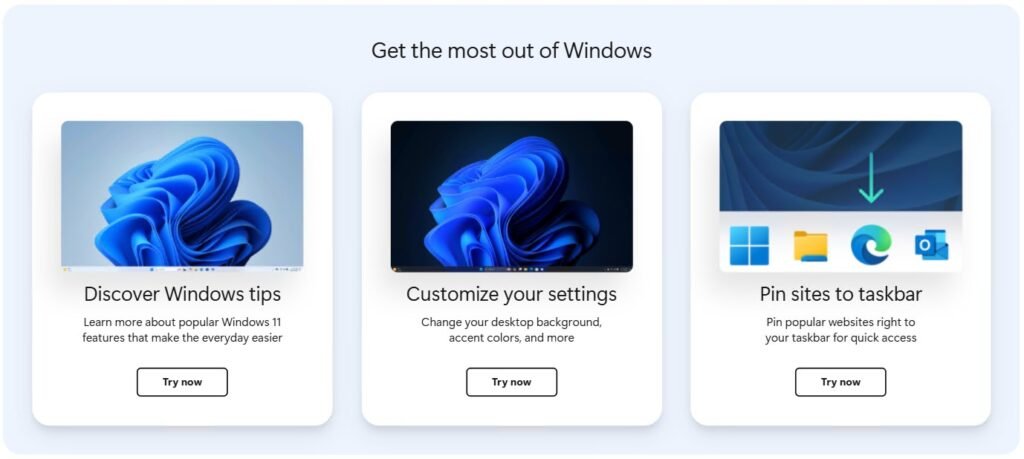
After upgrading, Windows 11 introduces helpful features like tips, personalization options, and taskbar pinning for quick access.
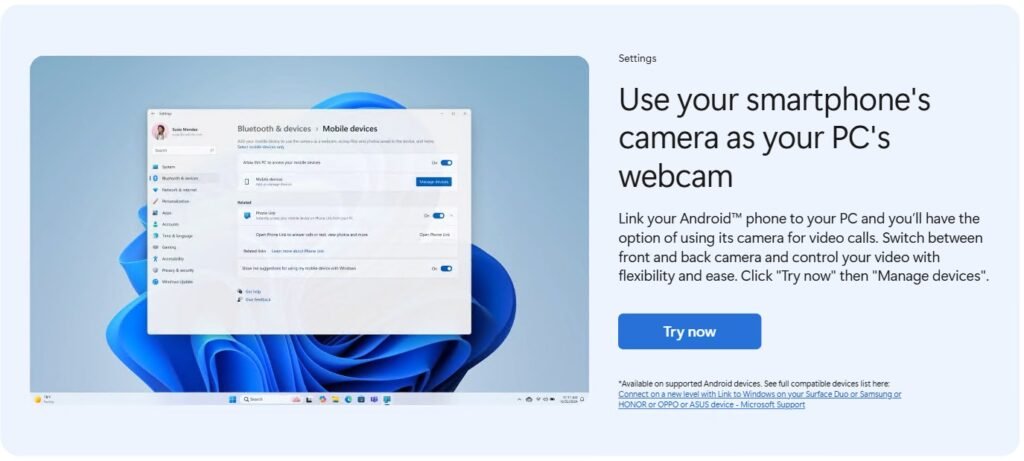
These include:
- Discover Windows tips – Learn about everyday productivity features.
- Customize your settings – Change desktop backgrounds, accent colors, and more.
- Pin sites to taskbar – Access websites directly from your taskbar.
This makes it easier for beginners to get comfortable with Windows 11 while allowing IT professionals to explore new features quickly.
Tips for IT Professionals
- For enterprise environments, consider Windows 11 deployment via Intune, SCCM, or WSUS.
- Use Group Policies to control upgrade timing.
- Validate applications for compatibility in Windows 11 sandbox environments.
FAQs: How to Upgrade from Windows 10 to Windows 11 Online
Q1. Is the upgrade from Windows 10 to Windows 11 free?
Yes, if you have a genuine Windows 10 license, the upgrade is free.
Q2. What happens if my PC doesn’t meet the requirements?
You won’t see the upgrade option in Windows Update. You can still install Windows 11 manually, but it’s not recommended due to stability and security risks.
Q3. How long does the upgrade process take?
Typically 30–90 minutes, depending on hardware speed and internet connection.
Q4. Will my apps and files remain after upgrading?
Yes, by default, all apps and files are preserved. Still, it’s wise to back up important data.
Q5. Can I downgrade back to Windows 10 if I don’t like Windows 11?
Yes, you can roll back to Windows 10 within 10 days via Settings > Recovery. After that, you’ll need to reinstall manually.
Q6. Do I need internet access during the upgrade?
Yes, internet is required to download Windows 11 files and apply updates.
Q7. Is Windows 11 stable enough for production use?
Yes, Microsoft has steadily improved Windows 11 with patches. It’s now stable for both home and business use.
Conclusion
Upgrading from Windows 10 to Windows 11 online is straightforward if you prepare your system properly. From checking compatibility to running the Installation Assistant, the process ensures you’re ready for Microsoft’s next-generation OS.
Have you upgraded yet? 💻
👉 Share your experience in the comments below!
👉 Subscribe to IT4U for more step-by-step Windows and IT tutorials.


Add comment